
Design visual workflows
Connect processing steps and inspect each run.
Before you begin
This guide stays on xdev.asia. To perform the task, use an account in your organization’s AI Studio workspace with access to this feature. Screenshots show a demonstration workspace; names and data are examples.
Find the screen
Connect processing steps and inspect each run.
Step 1
Open a Workflow or Chatflow app and enter its workflow editor. Define input fields on the start node.
Step 2
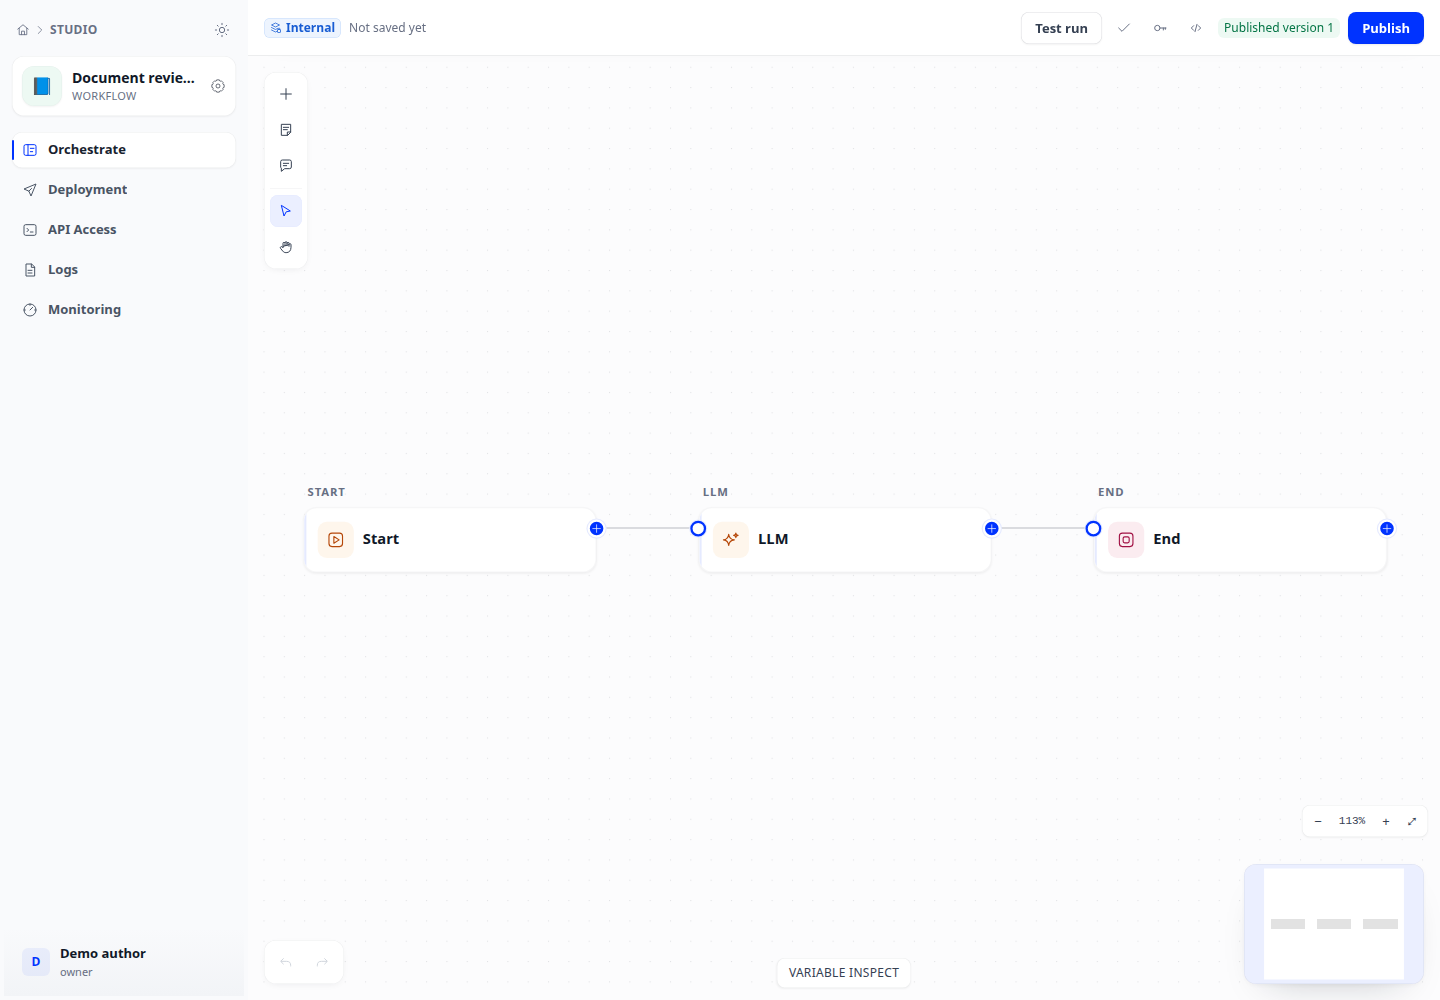
Add the nodes needed for your task, such as knowledge retrieval, LLM, conditions, tools or code. Connect them and map outputs from earlier steps into later inputs.
Step 3
Configure the final output, run with sample inputs and inspect each node result. Fix validation errors before publishing a version.
Check your result
A test run reaches the final node and returns the expected output. Inspect failed nodes and unmapped inputs before publishing. The screenshot shows a simple Start → LLM → End example.
Node groups and prerequisites
The canvas includes classification, parameter extraction, conditions, decision tables, loops, iteration, templates, variable operations, document extraction, HTTP, tools, agents, channel sending, waits, event waits, human input and knowledge indexing. Code nodes require a configured sandbox. External calls require suitable connections and outbound policy. Use run history, variable inspection and version comparison to investigate changes.