
Automate with triggers
Start workflows from events or schedules.
Before you begin
This guide stays on xdev.asia. To perform the task, use an account in your organization’s AI Studio workspace with access to this feature. Screenshots show a demonstration workspace; names and data are examples.
Find the screen
Start workflows from events or schedules.
Step 1
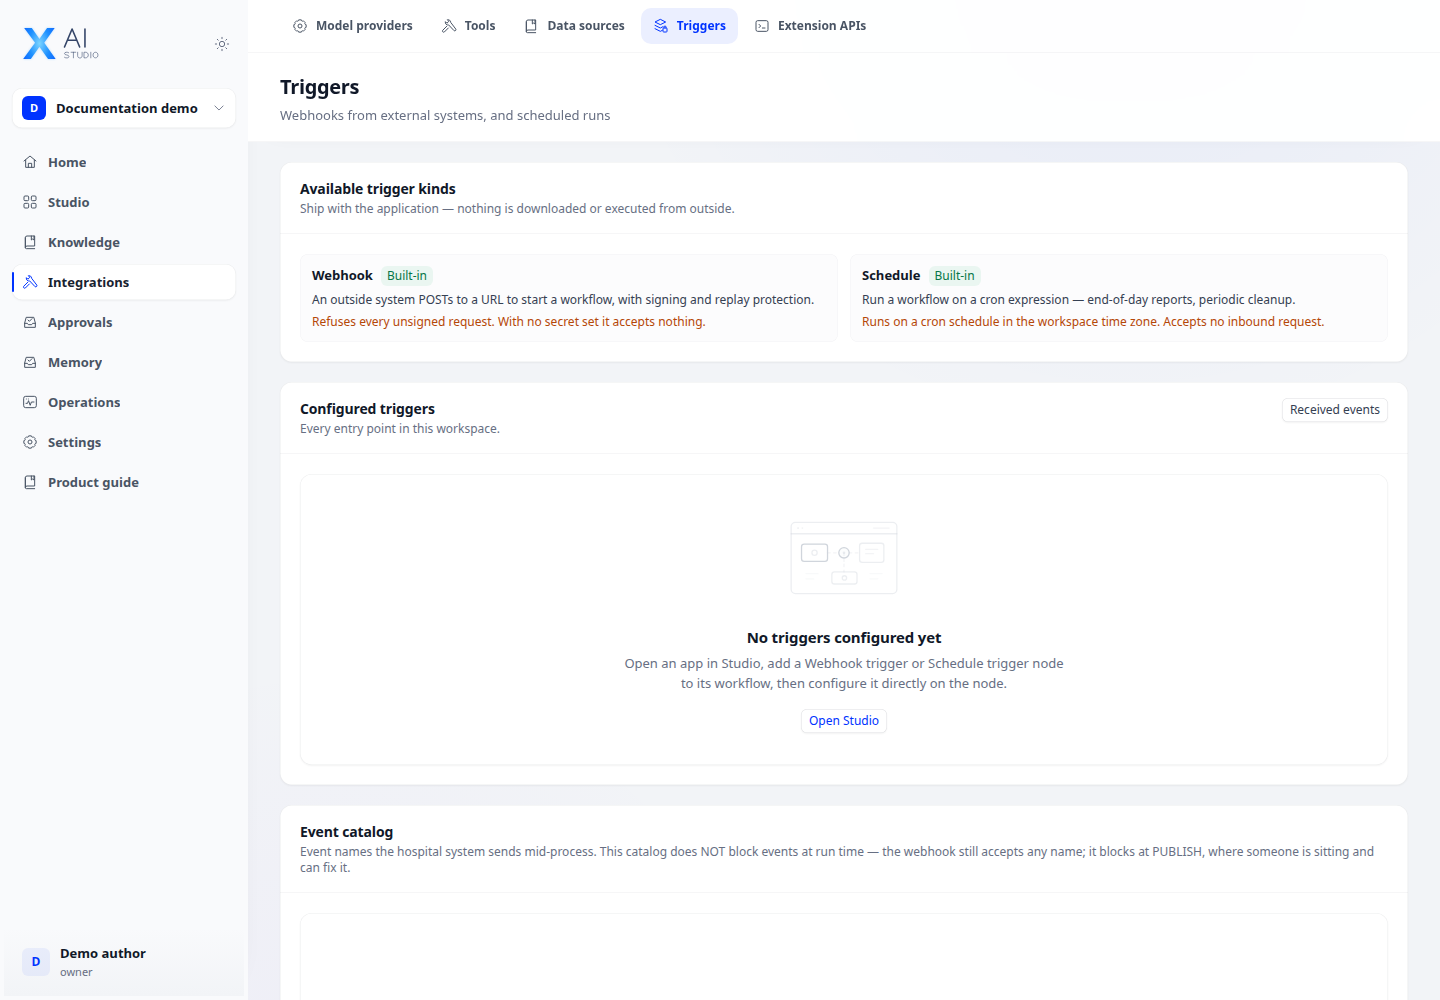
Open Integrations → Triggers to review the available types and existing workspace triggers. To create one, open the target Workflow app, save its draft and select the root/start node. Configure the trigger in that node’s Triggers panel; triggers are not created from the workspace overview.
Step 2
For scheduled execution, check the schedule and time zone. For webhooks or events, use the endpoint and authentication shown by the configuration.
Step 3
Send a test event and inspect the trigger event log under Operations. Confirm that the intended workflow ran with the expected input before enabling regular use.
Check your result
The test event appears in the event log and starts the intended workflow. Check time zone, payload mapping and event configuration if no run is created.