
Administer the instance
Operate the installation beyond a single workspace.
Before you begin
This guide stays on xdev.asia. To perform the task, use an account in your organization’s AI Studio workspace with access to this feature. Screenshots show a demonstration workspace; names and data are examples.
Find the screen
Operate the installation beyond a single workspace.
Step 1
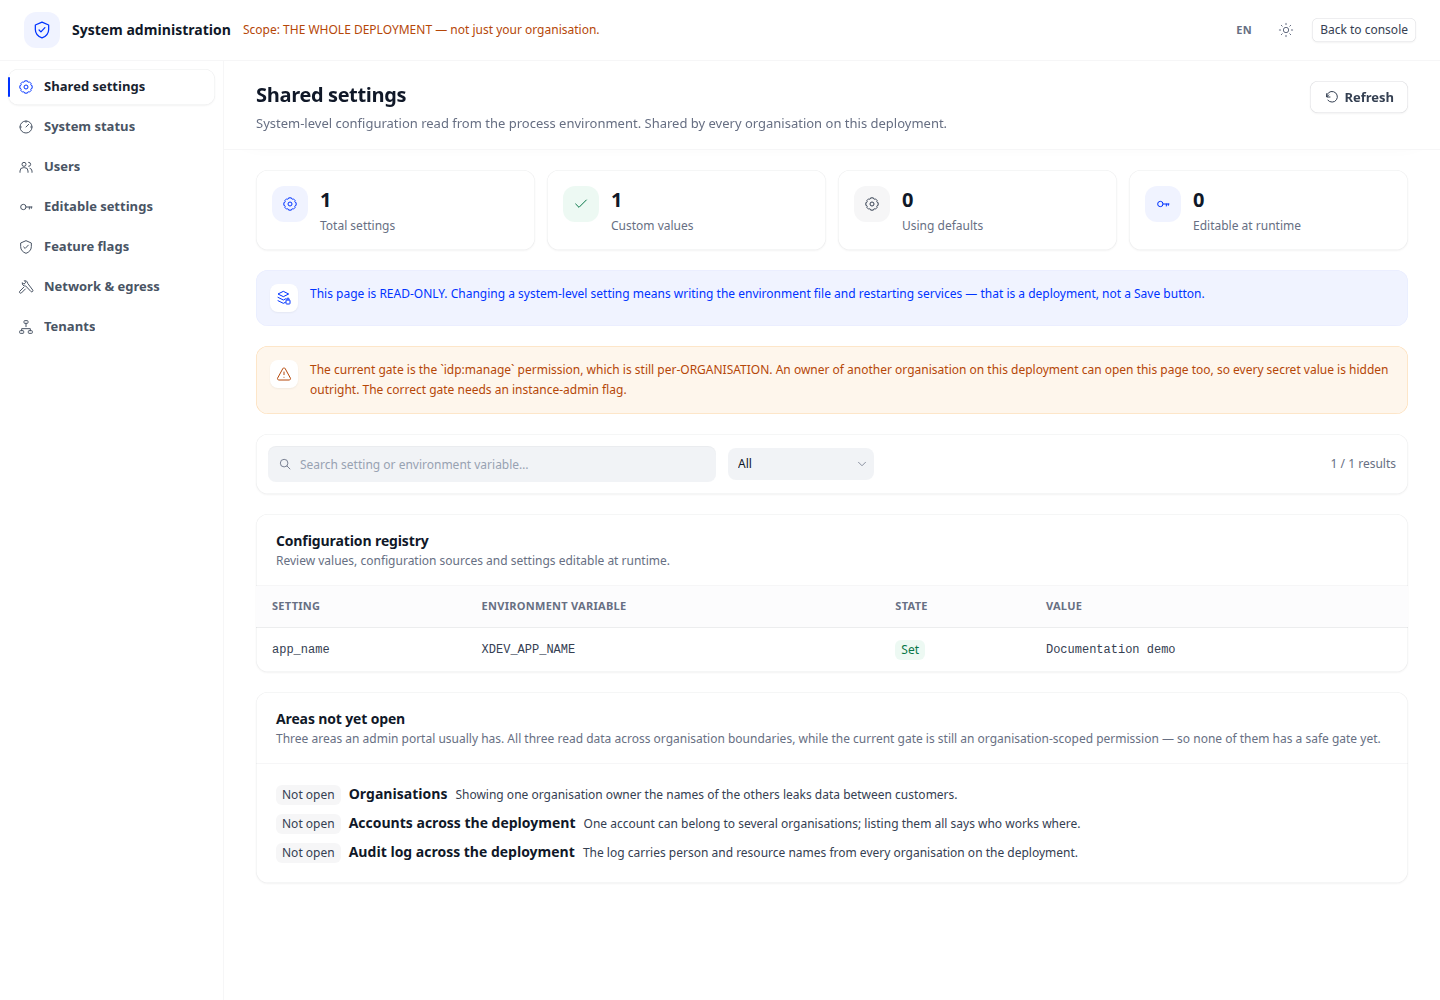
Sign in with an instance administrator account and open Administration. Workspace ownership alone does not grant instance administration.
Step 2
Use the dedicated pages to manage tenants and accounts, inspect health, and review runtime or network settings and feature flags.
Step 3
Check the effective configuration and health after making a change. Some settings are read-only or managed by the deployment environment.
Check your result
The effective setting is displayed after refresh and health checks remain healthy. Read-only environment settings must be changed through the installation’s deployment process.
Organisations and accounts
Under Administration → Organisations, inspect organisation status, workspaces and quotas. Under Accounts, locate the user and review status before updating it. These pages cover the whole instance, not just the selected workspace.
Health and runtime settings
Open Health to inspect dependencies and migration state. In Runtime settings, locate the key, review its configuration source and edit only permitted settings. After saving, allow the indicated refresh period and check again. A configured-state indicator does not reveal a secret value.
Network and feature flags
Network and Feature flags are inspection screens. Review the effective network zone, allowed destinations, flag scope and state. Change deployment-managed values through the installation configuration, then refresh these screens; enabling a flag does not configure its dependent services.